There are links throughout this post, clicking them or images will open up a new tab.
Images without links are generic items that can be easily searched.
Desktop users: use navigation dots on the right to jump sections.
INTRO
In recent years, there have been an influx of new sellers utilizing 3rd party marketplaces to sell trading card singles.
Everyone has their reason to sell card singles. Some sell as a hobby, some sell to finance the hobby, and of course selling singles as part of a business; it’s quickly becoming the wild wild west out there with new sellers without a clue on how to properly send cards in the mail.
We’ve seen horror stories of card singles arriving in a plain envelope without even a sleeve, or cards sent without protection arrived bent, or even a handful of foils thrown in a single envelope and getting scratched.
Every few days, there’s a new seller voicing their concerns on how to properly package and send card singles effectively and economically. We had these same questions and through a lot of trials and errors, we’ve figured out the most efficient way to package and send cards.
We hope this guide will help new sellers and veteran sellers alike in their journey of building their brand and get amazing feedbacks along the way.
GUIDE
Here we go folks, this is:
YellowDoor’s definitive guide to packaging and mailing trading card singles.
Things to familiarize:
- PWE = plain white envelope
- PWEwT = PWE with tracking (not a common term, we made it up for our usage)
- BMWT = bubble mailer with tracking
- Envelopes = can go through the USPS sorter (up to a certain thickness and weight) and are considered mailpieces
- Flat mailers (flats) = cannot go through the USPS sorter and are considered non-machinable mailpieces
- you CAN put a shipping label on flat mailers
- you can actually put a shipping label on anything… that’s a story for another day
- Machinable = envelopes under 1/4 inch in thickness and under 3.5 oz and are not rigid
- Non-machinable = envelopes over 1/4 inch in thickness and over 3.5 oz and are rigid, such as flat mailers
- Bubble mailers = are considered packages and not mailpieces
- Shipping label = label provided by your carrier of choice that comes with tracking number
- Regular stamps (US) = $0.63 each (as of June 2023)
- each regular stamp is good for up to 1 oz
- Non-machinable stamps (US) = $1.03 (as of June 2023)
- the surcharge to make a mailpiece non-machinable is $0.40
- you can put a regular stamp on a mailpiece and ask for it to be non-machinable at the counter
- reason to make a mailpiece non-machinable is so it gets sorted by hand; prevents going through the sorter
- Extra ounce stamps (US) = $0.25 each (as of 2023)
- use extra ounce stamps when PWE is over 1 oz instead of another regular stamp to save on costs
- use extra ounce stamps even if PWE is over by 0.01 oz to prevent US postal service rejecting and getting item returned to sender
- Returned to sender = bad address, insufficient postage, package was refused by recipient
Bolded things in these next sections are our preferred items/methods.
Supplies used in this guide:
- Card sleeves (penny sleeves)
- Shipping shields or toploaders
- if you use toploaders, put a sticky marker on the penny sleeve before putting card in toploader. this makes retrieving the card easier (we’ll try to get pictures up for this guide soon)
- we prefer shipping shields because of their durability and flexibility, lower chances of getting caught in the sorter; bonus points for being eco-friendly
- Team bags (team set bags)
- Envelopes: A6, A4, standard sized, or offering envelopes 3×6 (smallest size allowed by the postal office to be mailed with stamps)
- Flat mailers (flats)
- Bubble mailers (bubble envelopes or padded envelopes)
- Cardboards (make good use of shipping boxes you are not re-using)
- Painter’s tape
Optional:
- Sticky page markers (only needed if toploader was used)
- adding a sticky marker on the penny sleeve before putting the card in a toploader makes pulling the card out much easier and gives buyers a pleasant experience
- Semi-rigid #2 (not recommended because they bend easily, potentially damaging content during transit. OK to use with really inexpensive non-foil cards, but we’re aiming for 100% positive feedbacks, ymmv)
Other resources used:
- Canva (free version) – for designing “thank you” inserts
- LetterTrack (easy difficulty) – tracking for PWE (paid service; starts at 18 cents)
- if you decide to use LetterTrack, please use our affiliate link so we can earn commission.
- Click here to sign up with LetterTrack using our affiliate link.
- EasyPost (medium difficulty) – parcel tracking service (free to use)
- purchase postage directly & comes with tracking for PWE at no additional cost
- purchase shipping labels & postage at discounted rates
- cheap insurance rates
- not user friendly interface
- Pirate Ship (easy difficulty) – discounted shipping labels (free to use)
- purchase shipping labels at discounted rates
- does not have postage option for PWE
- cheap insurance rates
- super friendly user interface with tracking map
Card value guideline & supplies to use.
This is our personal guideline, you can develop your own per your comfort level. This system helps us evaluate how much effort to put in packaging cards and not how we view card value.
All methods mentioned are trackable
- Inexpensive cards = under $5
- sleeve, shield or toploader (need sticky), team bag, PWEwT; or
- sleeve, semi rigid holder (need sticky), team bag, PWEwT
- Low-value cards = over $5 under $20
- sleeve, shield or toploader, team bag, PWEwT or flat mailer w/tracking (depends on if we charged for this option or not)
- Mid-value cards = over $20 under $50
- sleeve, shield or toploader, cardboard, team bag, flat mailer w/tracking
- bubble mailer optional (use your best judgement)
- High-value cards = over $50
- sleeve, shield or toploader, team bag, cardboard sandwich, bubble mailer
- Really-high-value cards = over $250 (or use your best judgment)
- sleeve, shield or toploader, team bag, cardboard sandwich, paper wrap or bubble wrap, bubble mailer, all of this inside a box.
- insurance optional but encouraged
Every card being sent should be in a penny sleeve, hard stop, even non-foils. Each foil card should be in its own sleeve. We’ve gotten orders where multiple foils were shoved into 1 penny sleeve and yes, they were all scratched. Even though they were inexpensive cards, our experience was ruined. Cards ordered as near-mint should arrive as such.
Infographics will be added later.
Let’s get fancy.
Scenario 1: sending out 1 low-value card
- put card in penny sleeve
- then in shipping shield, fold shield flap down
- put shield in team bag
- put 3×4 “thank you” insert in team bag
- seal team bag
- print out packing slip (invoice)
- use A6 envelope (these are invitation envelopes and are thicker than regular envelopes, have better structural integrity and the size is perfect)
- fold invoice to fit well into the envelope
- put card in envelope
- seal envelope
- weigh content with a scale (optional)
- with this method, we are always right around 0.75 oz, so we are confident enough to use 1 oz of postage
- jump on EasyPost, buy postage
- print label using 4×6 thermal printer (we’re fancy pants)
- done.
Scenario 2: sending out 4 mid-value cards
- put each card in its own penny sleeve
- put all 4 cards in 1 (one) shipping shield. all 4 cards should fit in shield (the most we’ve put into 1 shield is 5 cards with sleeve on each)
- depends on the cost of the cards, you can put each card in its own shield (super-fancy-pants status)
- minor trick with shipping shields: gently & firmly squeeze edges to put card in or take card out
- put shield(s) in team bag
- if using 4 shields, all 4 should fit into 1 team bag
- put 3×4 “thank you” insert in team bag
- seal team bag
- cut out 2 pieces of cardboards that are slightly larger than content
- sandwich the content with the 2 cardboard pieces
- use painters tape to hold sandwich together (tape all 4 sides)
- scotch’s tape is OK in this step. painters tape is easier to peel
- print out packing slip (invoice)
- use 7×4 bubble mailer, put content in bubble mailer
- fold invoice into the bubble mailer along with content
- you can even wrap the packing slip around the content
- seal bubble mailer
- weigh content with a scale
- with this method, we are always right around 1 to 1.5 oz
- we have a preset for this since pricing will always be the same up to 3 oz with bubble mailers
- preset: 7 x 4 x 1; 3oz
- jump on EasyPost or PirateShip, purchase label
- print label using 4×6 thermal printer
- if you do not have a label printer, cut out the label and tape it nicely on the mailer
- we recommend using packing tape to cover the entire label so there’s no chance of water fading out the address
- done!
END OF GUIDE
Now you get the idea. Shipping card singles isn’t hard and should not be sloppy. A happy customer means a returning customer (not always but more likely).
We hope this is helpful and of course, feel free to reach out to us if you have any questions or comments.
We’ll update this guide with infographics at a later date. Thanks for reading 🙂
SUPPLIES (click image to go to product page)
Card sleeves (penny sleeves)
Toploaders

Shipping shields
Team bags
A4 or A6 envelopes (generic)
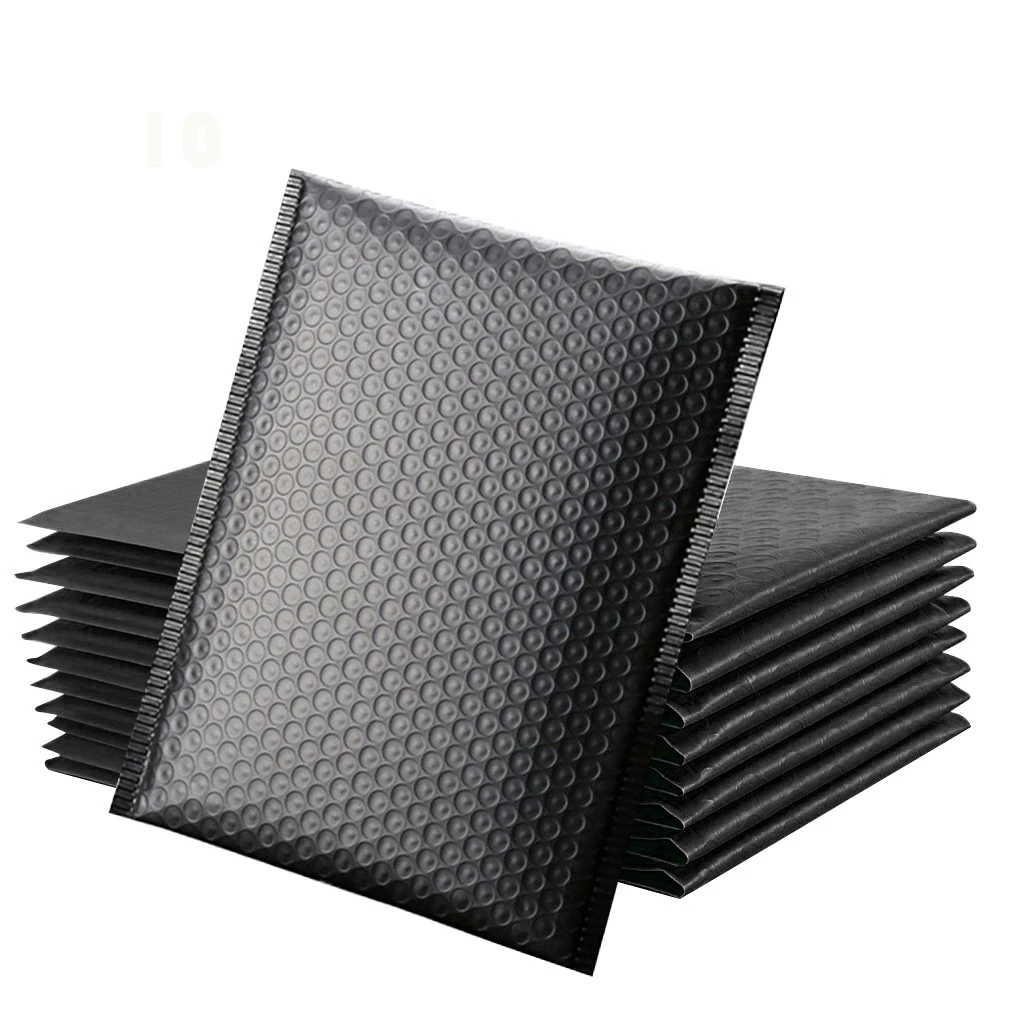
Bubble mailers (generic)
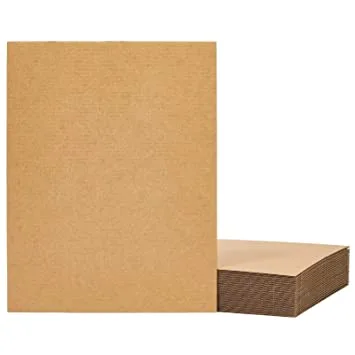
Cardboard (generic)
Sticky page markers
OPTIONAL
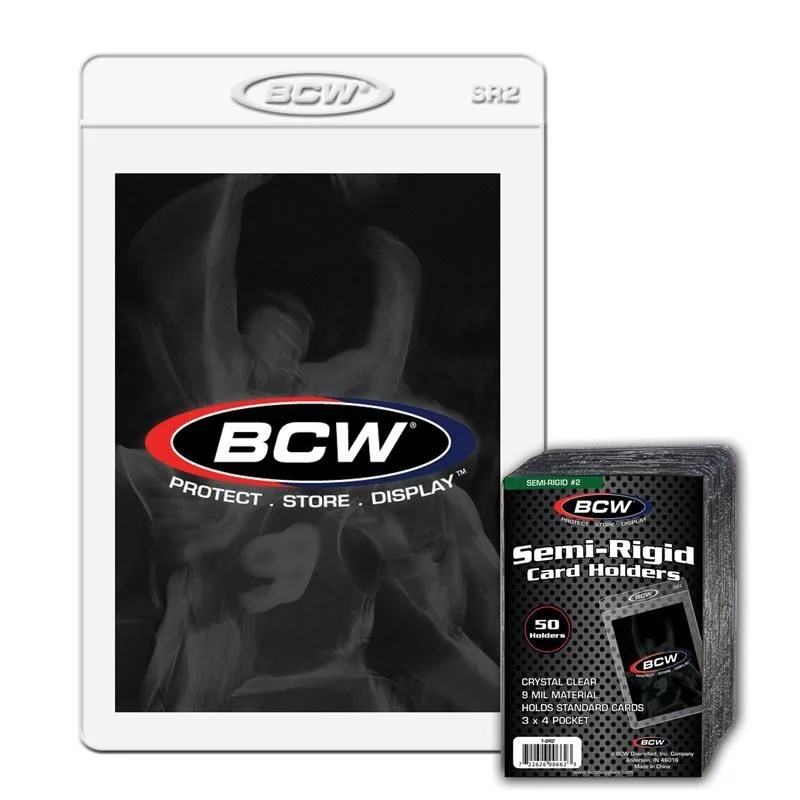
Semi-rigid #2

4×6 thermal printer & 4×6 shipping labels

“Thank you” inserts
Disclaimer:
Recommended products are items we would use ourselves and all opinions expressed here are our own. We do not have sponsorship from any of the products and services mentioned in this blog.
Products & services mentioned:
- Shipping Shields – no affiliations. We just really like the product and got the OK from the owner to link the product from our page.
- Canva – no affiliations. We use the free version to design flyers and notes.
- LetterTrack – no sponsorship. We use their services and was provided with a commission based affiliation link. We receive a 25% commission on every order placed by accounts signed up using our affiliated link.
- EasyPost – no affiliations. We use this platform to purchase postage, shipping labels, & insurance for our mailpieces/packages.
- Pirate Ship – no affiliations. We use this platform to purchase shipping labels & insurance for our packages.